Upload the image here and immediately change the image description parameter. |
- "If you would have your showdown against Marduk, go to Thryhring. I am certain you will find signs of him there." – Charnel, The End Days (Intermission)
- Mission Giver: Charnel
- Location: Thryhring
- Map Creator: David Msika
- New Creature: Hellmouth
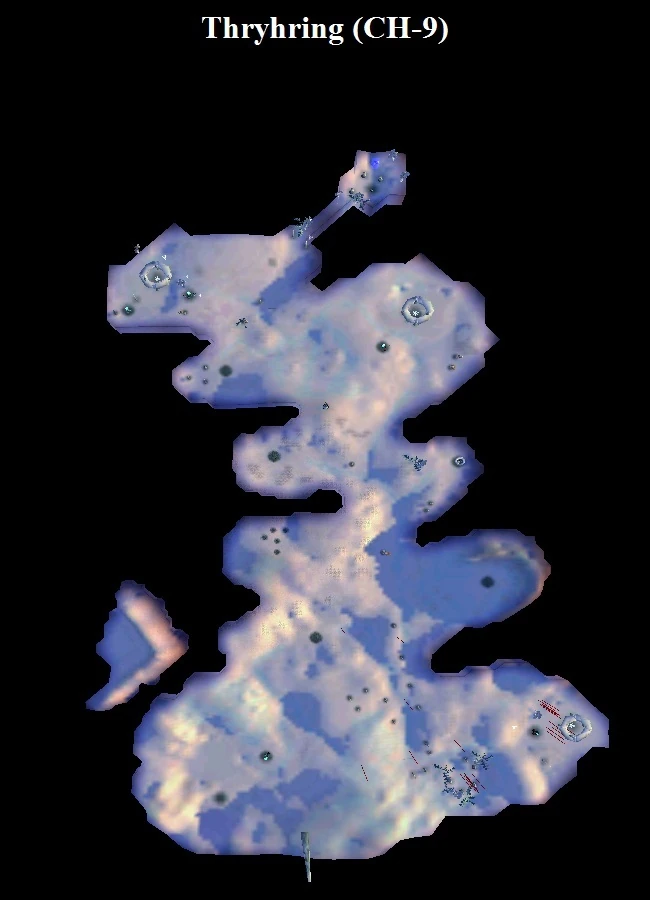
Map of Thryhring (full image)
Starting Setup[]
Objectives[]
Walkthrough[]
- ELDRED: The dangers of my journey to Thryhring you would find of little interest. But what happened when I arrived...
- MITHRAS: Yes?
- ELDRED: Give me a moment to gather my thoughts.
Stratos' Disappearance[]
You arrive at Thryhring in order to confront Stratos about Marduk, but as it turns out, by the time you are there he is already gone. Instead of Stratos' champion Abraxus, the centaur Jadugarr approaches you, boasting of his victories: he has slain Astaroth (who was sent after him with Acheron) and toppled Stratos. He then threatens you and your master Charnel to be the next. After some banter, the battle will begin straight away; your assortment of Minions and possibly Faestus will face off against Jadugarr's three Squalls and two Flurries.
Jadugarr attacks fast, but respond quickly and this initial attack won't cripple you. In fact, this may be a good chance to add quite a few souls to your arsenal. Jadugarr's manaliths are far away and you just need to kill him and his manahoars quickly enough to gain control over several of his souls. The Flurries are an issue, of course, as they can really shake up your army with their storm crystals. Stand in such a way that the nearby tree is between you and the Flurries (but don't stand right next to it, or a projectile that hits the tree will suck you up) and start casting your spells. Disruptive and rain spells are ideal; cast them in such a way that the centaur will suffer the most from it while telling your Deadeyes and if applicable, Faestus to attack Jadugarr while sending your Netherfiend to kill the Squalls and Flurries. If Jadugarr still isn't dead, summon something with your remaining 2 souls that will help; a couple of level 1 fliers can damage him quite efficiently.
Your goal is to gain as much of those Squalls and Flurries as you can, and if you do it right, most or even all of them should stay behind. Jadugarr will take several minutes to recover, so feel free to convert his souls. Don't move further out yet, though, as with only one manalith you don't have the mana flow to do anything risky, and the free Mana Fountains are too far away right now.
While the enemies' attack schedule will vary from game to game, usually Jadugarr will attack you once again before Hachimen comes. It will come from the east – the direction of the village. He will try to convert the souls of the dead snowmen in the village, but don't rush in to attack him yet. The village has a trap: 3 Yetis and 2 Storm Giants will spawn if you enter while Jadugarr isn't there. Now, if you attack him while he is there, the creatures will not appear until he dies, at which point they'll spawn anyway. Instead, chip away at him with ranged units and pick off the sac doctors leaving the village with your basic attack spell. Once Jadugarr leaves the village, hit him will all you've got. If he dies and leaves behind many souls, you've done well, though don't convert too much – you have little time. Don't try to trigger the trap either, as the creatures will really do a number on your ground units and you don't have enough time to dispose of them and convert the souls. (Anything that dies will be switched to Jadugarr's side.)
Hachimen[]
Hachimen will come next, usually from the north, although sometimes he likes to take a detour into the small village. Hachimen's army usually consists of a Bombard, two Pyromaniacs and two Warmongers. Hopefully, by the time he attacks you will have acquired enough souls for a Hellmouth, which can really help soak up damage from the Warmongers and kill Hachimen. Take the high ground and start bombarding him with spells from afar; you will want to kill the Warmongers before they get close as they can still kill your Hellmouth fast. Hachimen is quite frail himself, and setting a Hellmouth, or masses of other creatures on him should bring him down. Just watch that you don't lose your army to his heavy-hitting units. In addition, watch out for surprises like a sudden Volcano attack; if the ground starts trembling below you, retreat as fast as you can. Try fighting him as far away from your manalith as you can afford to avoid having your manalith destroyed by a volcano.
More Fighting[]
Once you've endured the first two attacks, and hopefully gained some souls from each, the mission will gradually become easier and easier. Still, as long as your enemies have a decent amount of souls, you'll need to watch out, as one Volcano or Tornado spell can still turn it all around. Concentrate on converting Hachimen's souls before Jadugarr's, as he has the capability to really dish out damage – Jadugarr is more adept at pinning you down instead, while Hachimen destroys your units and structures.
An army worth about 20 souls is enough to venture out, if you've got some guardians at your final manalith. You should definitely have at least a brawler or a bomber as a guardian to slow down any enemy who tries a surprise attack. There are several Mana Fountains nearby, some of which are regularly left free for some reason; it's a good idea to destroy every Jadugarr and Hachimen manalith nearby though, or you may find your enemies are wreaking havoc in your flank while you push forward.
The rest is just cleanup. Advance further north; there will be a tornado trap triggered near an idol to Ashur, so run ahead of your creatures just in case until the trap is dealt with. Hachimen's altar won't be far away, and you should be able to bring down the Phoenix guardians at his final manalith. (Massed Hellmouths aren't the best way, although if you massively outnumber them, even that approach works. Try to outrange them instead – snipers are excellent for this.) Desecrate his altar and move on to Jadugarr's altar after that; one manalith has Silverback guardians while the other is guarded by 5 Squalls. Banish him as well to finish off Marduk's champions.
Trivia[]
- All three instances of Thryhring in the campaign look different. In this map, the peninsula near the final enemy altar (belonging to Jadugarr's altar) is closer to the altar than in Pyro's ninth mission, but is smaller than in Persephone's ninth mission.
| Previous Mission: | Mission Category: | Next Mission: |
| Charnel's Missions | Finale |
| Missions in Sacrifice | |||||||||
| Missions | 1 | 2 | 3 | 4 | 5 | 6 | 7 | 8 | 9 |
| Persephone | PE-1 | PE-2 | PE-3 | PE-4 | PE-5 | PE-6 | PE-7 | PE-8 | PE-9 |
| James | JA-1 | JA-2 | JA-3 | JA-4 | JA-5 | JA-6 | JA-7 | JA-8 | JA-9 |
| Stratos | ST-1 | ST-2 | ST-3 | ST-4 | ST-5 | ST-6 | ST-7 | ST-8 | ST-9 |
| Pyro | PY-1 | PY-2 | PY-3 | PY-4 | PY-5 | PY-6 | PY-7 | PY-8 | PY-9 |
| Charnel | CH-1 | CH-2 | CH-3 | CH-4 | CH-5 | CH-6 | CH-7 | CH-8 | CH-9 |
| Intermissions | IM-1 | IM-2 | IM-3 | IM-4 | IM-5 | IM-6 | IM-7 | IM-8 | IM-9 |
| Others | Prologue | The Wanderer's Tale | Respite | The Crucible | ||||||||